Sending Artwork Created in Publisher
If you have a very simple label design, it’s possible that you’ve created your artwork using Microsoft Publisher. When you’re ready to send your artwork to us, you’ll need to export your files to a PDF so we can work with them.
Here’s how you export your artwork to a PDF from Microsoft Publisher:
Click-through Instructions:
- File > Pack and Go
- Take to a Commercial Printing Service
Step-by-Step Instructions
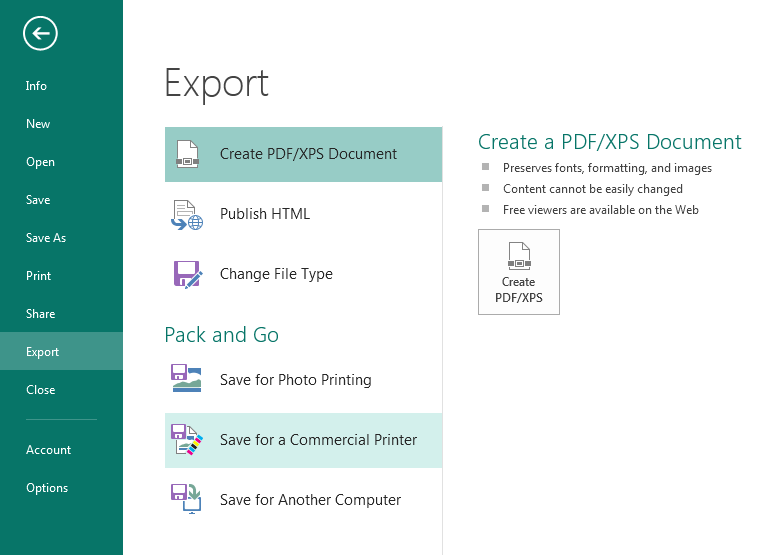
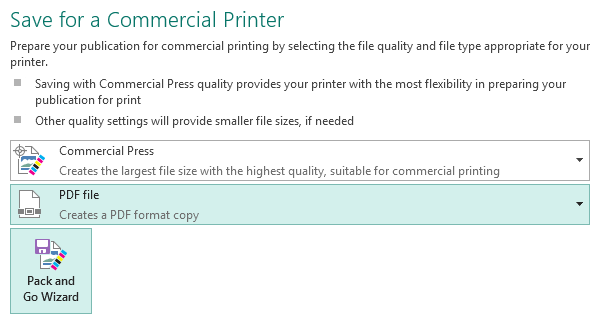
Go to Export. Under Pack and Go, select Save for a Commercial Printer.
If there are any issues with your file, you’ll see a listing of problems that should be corrected before exporting. Under Export, go to Pack and Go and select “Save for a Commercial Printer.”
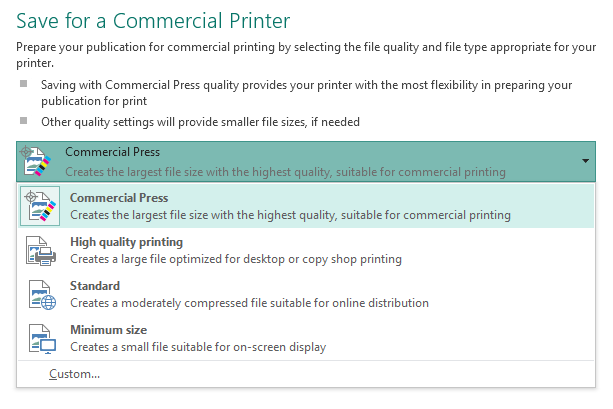
Select Commercial Press under Save for a Commercial Printer.
Click “Commercial Press” – the first option – in the Commercial Press dropdown menu.
After reviewing your document, select Pack and Go Wizard to export.
Double-check your settings to make sure you paper size (the size of your label) is correct. If your file shows no errors, click “Pack and Go Wizard” to save the document as a PDF.
Save your artwork on a disc or in a desktop folder.
Select (or create) a folder to save your files, or save the document to a CD. We suggest using your company or product name for the folder name.
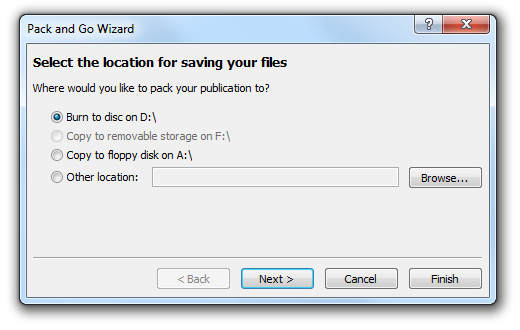
After selecting a location for your document, click Next.
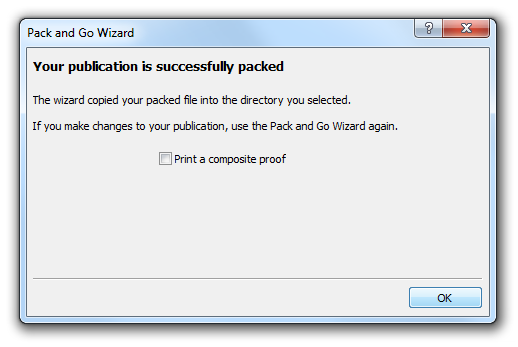
Once you’ve selected the location to save your files to, select Next. Publisher will package your files together in the folder you’ve selected. A window confirming that the you’ve successfully published your files will appear, click OK.

Success! You made a PDF.
You’re now ready to submit your Microsoft Publisher files to us for printing!